")

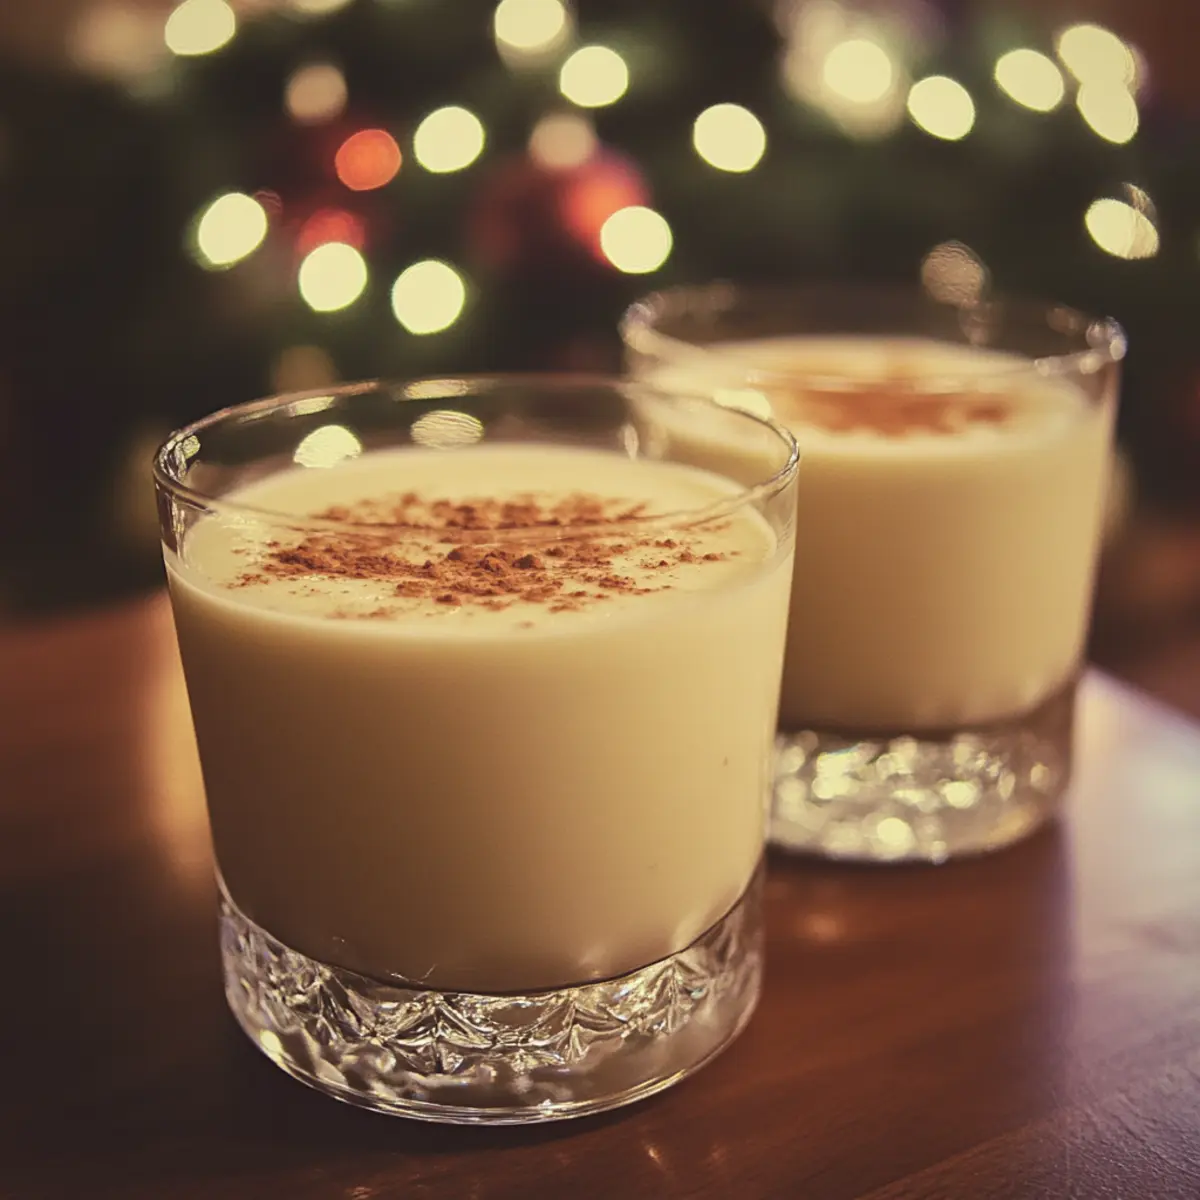
There’s something utterly nostalgic about Classic Homemade Eggnog—the rich creaminess, the hint of nutmeg, and that warm holiday spirit in every sip. One chilly evening, craving comfort beyond the usual store-bought cartons, I decided to whip up my own batch from scratch. The result? A velvety, perfectly spiced drink that tastes like a festive hug in a glass. What I love most is how effortlessly this eggnog comes together—no fancy tools, just simple ingredients that turn an ordinary night into a celebration. Whether you’re cozying up by the fire or impressing friends at your next gathering, this recipe promises a timeless treat that’s as versatile as it is delicious. Let me show you how easy it is to bring this classic holiday favorite straight from your kitchen to the table.
Why choose Classic Homemade Eggnog?
Rich Creaminess: This eggnog boasts a silky, velvety texture that comforts with every sip. Simple Ingredients: No complicated steps—just pantry staples that come together in minutes. Festive Flavor: The perfect blend of nutmeg and vanilla evokes holiday warmth. Versatile Enjoyment: Sip it chilled, warm, or even spiked for adult gatherings. Crowd-Pleaser: Loved by both kids and adults, it’s a timeless seasonal classic you’ll make again and again.
Classic Homemade Eggnog Ingredients
For the Eggnog Base
- Whole eggs – Use fresh, high-quality eggs to achieve that rich, creamy texture classic homemade eggnog is known for.
- Granulated sugar – Balances the richness with just the right amount of sweetness; you can adjust to taste.
- Whole milk – Adds smoothness; for extra creaminess, substitute half with heavy cream.
- Heavy cream – Essential for that luscious, velvety mouthfeel in your eggnog.
- Pure vanilla extract – Brings warm, inviting notes that enhance the nutmeg and overall flavor.
Spices & Flavorings
- Ground nutmeg – The signature spice that gives classic homemade eggnog its nostalgic, festive aroma.
- Ground cinnamon – Optional, adds a subtle spice depth to complement the nutmeg.
Optional for Serving
- Bourbon or rum – Traditional additions for an adult spin; add carefully to taste.
- Whipped cream – A generous dollop elevates presentation and adds extra creaminess.
- Grated nutmeg – Sprinkle on top for that inviting finishing touch every classic homemade eggnog deserves.
How to Make Classic Homemade Eggnog
- Whisk Yolks: Transfer fresh egg yolks into a medium bowl and whisk vigorously with granulated sugar until light, pale, and fluffy, about 3 minutes.
- Heat Dairy: In a saucepan over medium heat, combine whole milk and heavy cream, warming until tiny bubbles form at the edges, about 5 minutes.
- Temper Eggs: Slowly pour one-third of the warm dairy into yolks, whisking constantly to prevent curdling and achieve a smooth, velvety custard.
- Cook Custard: Return the mixture to the saucepan and cook over low heat, stirring continuously until it thickens enough to coat the back of a spoon (about 160°F).
- Strain Mixture: Pour custard through a fine-mesh sieve into a clean bowl, ensuring an ultra-smooth texture by removing any cooked bits.
- Chill Eggnog: Cover and refrigerate the eggnog base until completely chilled, at least 2 hours or overnight for richer, more developed flavors.
- Add Flavorings: Stir in pure vanilla extract and freshly grated nutmeg, adjusting spices to taste, ensuring every sip delivers warm, festive aroma.
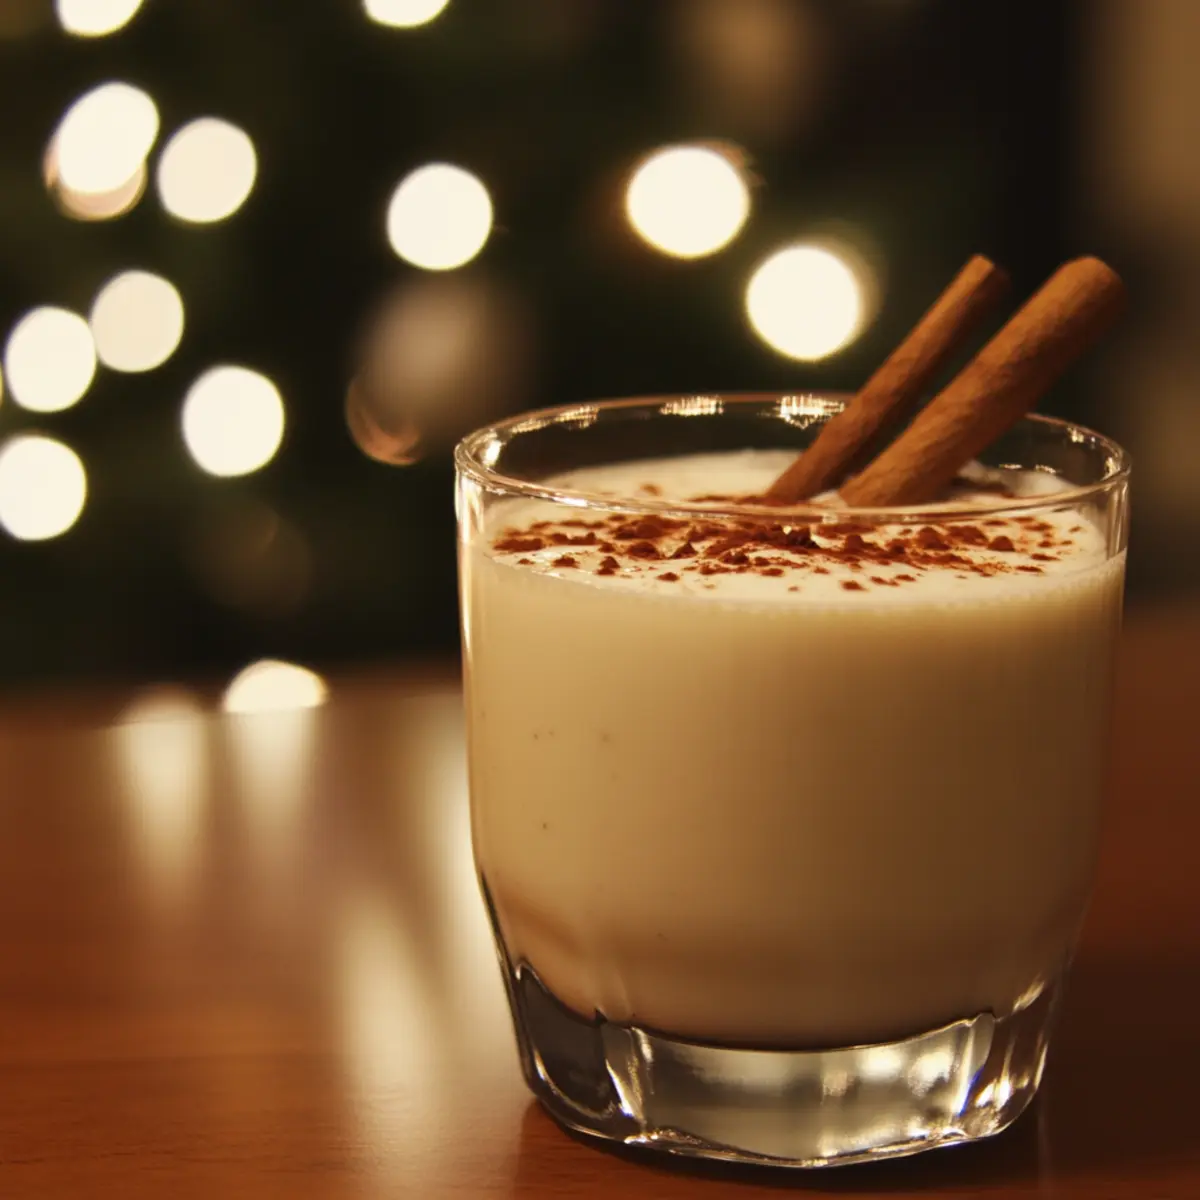
- Serve & Garnish: Ladle chilled eggnog into individual glasses, top with a generous swirl of whipped cream, then finish with a fresh dusting of nutmeg.
Optional: Whole cinnamon sticks make a charming garnish.
Exact quantities are listed in the recipe card below.
Expert Tips for Classic Homemade Eggnog
- Use Fresh Eggs: Always select the freshest eggs to ensure the richest texture and safest custard for your classic homemade eggnog.
- Temper Slowly: When adding warm milk to eggs, pour gradually while whisking to prevent scrambling and keep the mixture silky smooth.
- Cook Gently: Keep heat low while thickening the custard to avoid curdling; patience here guarantees that creamy, luscious finish.
- Strain Thoroughly: Passing the eggnog through a fine sieve removes unwanted lumps, giving you that velvety texture everyone loves.
- Chill Well: Refrigerate the eggnog for several hours or overnight—this resting time deepens flavors and improves the overall richness.
- Add Spices Last: Stir in nutmeg and vanilla after chilling to maintain their bright, warm essence without overpowering the delicate custard.
What to Serve with Classic Homemade Eggnog?
There’s nothing quite like elevating your holiday gatherings with delightful pairings that enhance the creamy, festive flavors of eggnog.
- Spiced Cookies: Perfect for dipping! The warm spices in gingerbread or snickerdoodles echo the nutmeg in the eggnog.
- Brie and Baguette: The creamy-rich brie paired with crunchy baguette slices creates a simple yet sophisticated balance to the drink’s sweetness.
Imagine cozying up with your loved ones, enjoying a glass of eggnog, while sharing bites of gooey brie topped with a sprinkle of honey.
- Fruitcake: A classic contrast! The dense, fruity flavors of fruitcake complement the eggnog’s richness beautifully, making for a nostalgic treat.
- Pumpkin Pie: The warm spices in pumpkin pie resonate with the holiday spirit of eggnog, creating an iconic combination that warms the heart.
For a sweet bite with a comforting touch, have a slice of pumpkin pie within arm’s reach as you sip your homemade treat.
- Chocolate Mousse: Indulge in the rich creaminess of chocolate mousse; it adds an elegant dessert note and contrasts wonderfully with the eggnog’s unique spice.
- Mulled Wine: This warm, spiced drink serves as a perfect counterpart to chilly eggnog, adding depth and inviting aromas to the festive atmosphere.
- Caramel Popcorn: For a playful crunch, sweet caramel popcorn brings texture and fun to your holiday table alongside eggnog.
How to Store and Freeze Classic Homemade Eggnog
Fridge: Store your classic homemade eggnog in an airtight container for up to 3 days. Always give it a good stir before serving, as it may separate slightly during storage.
Freezer: For longer-term storage, freeze the eggnog in a freezer-safe container for up to 2 months. Be sure to leave some room for expansion, as liquids can expand when frozen.
Thawing: To thaw, move the eggnog to the fridge for about 24 hours before serving. Give it a thorough whisk to reincorporate any separated ingredients.
Serving Freshness: If you plan on enjoying your eggnog within a few days, it’s best to store it in the fridge to maintain that creamy texture and delightful flavor anticipation every time you pour a glass.
Make Ahead Options
Making Classic Homemade Eggnog ahead of time is a brilliant way to streamline your holiday festivities! You can prepare the eggnog base up to 3 days in advance—simply follow the initial steps until chilling, then cover and refrigerate to enhance the flavors. For optimal quality, make sure to cool your mixture completely before storing to prevent any undesired texture changes. When you’re ready to serve, stir in the pure vanilla extract and freshly grated nutmeg right before ladling it into glasses. This way, you’ll enjoy all the rich creaminess and festive aroma, making your gatherings feel effortlessly special without last-minute fuss!
Variations & Substitutions for Classic Homemade Eggnog
Feel free to get creative and put your own spin on this delightful classic.
- Dairy-Free: Substitute whole milk and heavy cream with almond milk and coconut cream for a vegan-friendly eggnog that still feels indulgent.
- Chocolate Twist: Add 1/4 cup of cocoa powder to the dairy mixture for a rich chocolate eggnog that’ll delight sweet-toothed guests.
- Spiced Rum: Swap bourbon for spiced rum to infuse a warm, aromatic flavor that’s perfect for cozy celebrations.
- Eggnog Ice Cream: Pour the chilled eggnog into an ice cream maker instead of serving it as a drink for a creamy, frozen treat.
- Meringue Top: Instead of whipped cream, top your eggnog with a light meringue for an elegant finish that adds sweetness and texture.
- Nut-Free: Use oat milk and skip the nutmeg for those with nut allergies; a sprinkle of cinnamon can still keep the holiday spirit alive.
- Maple Sweetener: Replace granulated sugar with pure maple syrup for a deeper, richer sweetness that enhances the festive flavors.
- Caffeine Kick: Add a shot of espresso to your eggnog for a delightful caffeine boost; it’s a cozy pick-me-up for holiday gatherings.
Each variation will offer a different experience while maintaining that warm holiday charm this recipe is all about!
Best Classic Homemade Eggnog Recipe for Creamy Holiday Bliss Recipe FAQs
How do I know if my eggs are fresh enough for Classic Homemade Eggnog?
Freshness is key! Use eggs that have no cracks and pass the float test—place them in a bowl of water; fresh eggs sink while older ones float. Fresh eggs ensure safety and the richest texture in your eggnog.
What’s the best way to store leftover eggnog, and how long does it last?
Store your eggnog in an airtight container in the fridge for up to 3 days. Always give it a good stir before serving, as natural separation can occur. Keeping it chilled preserves both flavor and creaminess.
Can I freeze Classic Homemade Eggnog, and how should I do it properly?
Absolutely! Pour your eggnog into a freezer-safe container, leaving about an inch of space for expansion. Freeze for up to 2 months. When ready to enjoy, thaw it in the fridge for 24 hours and whisk well before serving to restore its silky texture.
What if my eggnog curdles or splits during cooking—how can I fix it?
This can happen if the custard gets too hot or the eggs are added too quickly. To prevent this, always temper eggs slowly with warm milk, whisking constantly. If curdling occurs, strain the mixture through a fine mesh sieve immediately to remove lumps and salvage the smooth base.
Is Classic Homemade Eggnog safe for pets or people with allergies?
Eggnog contains raw or lightly cooked eggs, milk, and sometimes alcohol, so it’s not safe for pets. For egg or dairy allergies, consider using egg substitutes and plant-based milks, but be aware this will alter the traditional flavor and texture. I recommend always informing guests about ingredients to keep everyone safe and happy.
Best Classic Homemade Eggnog Recipe for Creamy Holiday Bliss
Ingredients
Equipment
Method
- Transfer fresh egg yolks into a medium bowl and whisk vigorously with granulated sugar until light, pale, and fluffy, about 3 minutes.
- In a saucepan over medium heat, combine whole milk and heavy cream, warming until tiny bubbles form at the edges, about 5 minutes.
- Slowly pour one-third of the warm dairy into yolks, whisking constantly to prevent curdling and achieve a smooth, velvety custard.
- Return the mixture to the saucepan and cook over low heat, stirring continuously until it thickens enough to coat the back of a spoon (about 160°F).
- Pour custard through a fine-mesh sieve into a clean bowl, ensuring an ultra-smooth texture by removing any cooked bits.
- Cover and refrigerate the eggnog base until completely chilled, at least 2 hours or overnight for richer, more developed flavors.
- Stir in pure vanilla extract and freshly grated nutmeg, adjusting spices to taste.
- Ladle chilled eggnog into individual glasses, top with a generous swirl of whipped cream, then finish with a fresh dusting of nutmeg.