")

Of all the cookies in the vast, wonderful world of baking, the peanut butter cookie has always felt like coming home. It’s a classic, a nostalgic bite of childhood packed with nutty, comforting flavor. For years, I thought I had perfected my recipe—it was soft, chewy, and deeply peanut buttery. I was content. Then, one afternoon, while making a batch of brown butter for a different recipe, the intoxicating aroma of toasted nuts and rich toffee filled my kitchen, and a lightbulb went off. What if I took that liquid gold, those magical little brown bits packed with so much flavor, and infused them into my beloved peanut butter cookie dough? The result was nothing short of a revelation. The first batch that came out of the oven was different. The aroma was deeper, more complex. The flavor had an incredible, sophisticated nuttiness that perfectly complemented the peanut butter, adding layers of caramel and hazelnut that were never there before. My family, the ultimate taste-testers, were floored. These weren’t just peanut butter cookies anymore; they were Browned Butter Peanut Butter Cookies, a completely elevated experience. They had irresistibly crisp edges, impossibly chewy centers, and a profound depth of flavor that has made them, without question, the most requested cookie in our household. This is more than a recipe; it’s a small, simple secret that transforms a classic into a masterpiece.
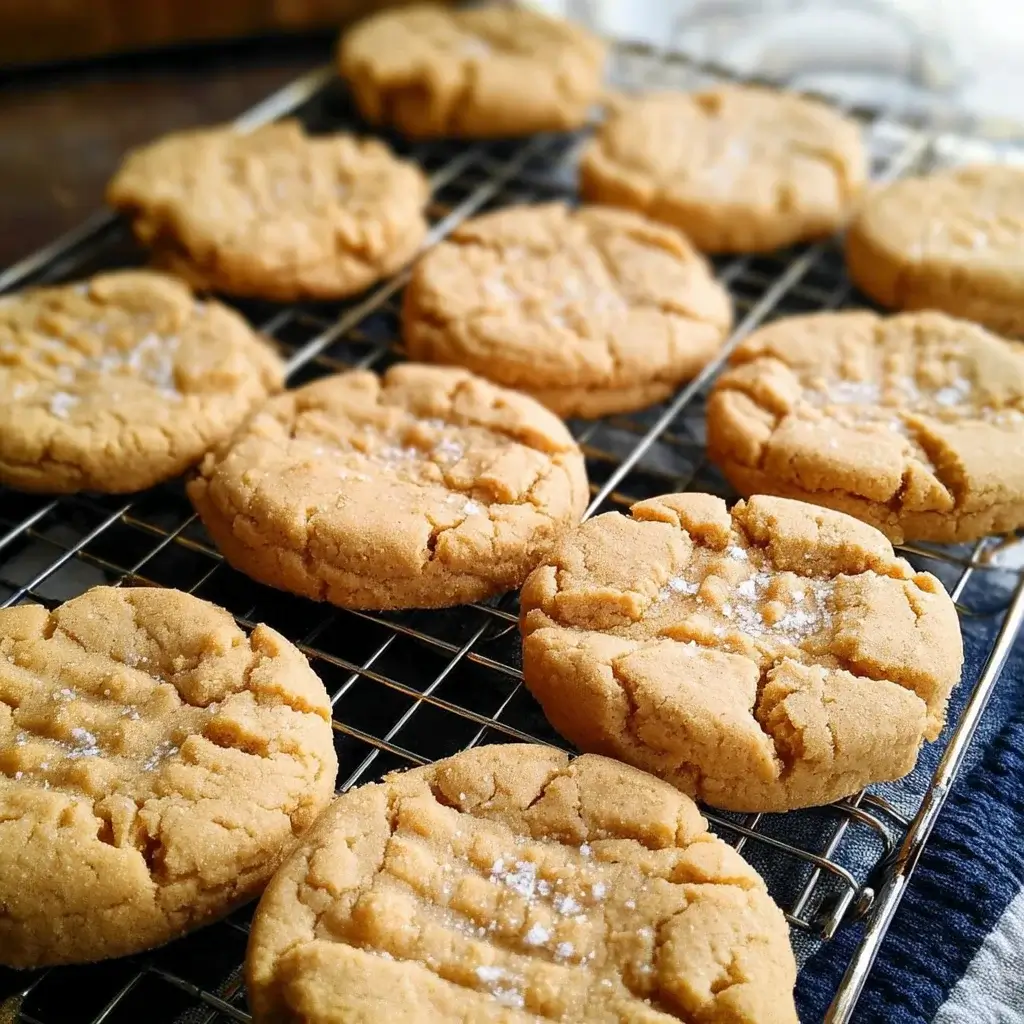
The Ultimate Browned Butter Peanut Butter Cookies
This guide will take you through every step of creating what might just be the best peanut butter cookies you’ve ever tasted. The secret lies in one extra, five-minute step—browning the butter. This simple technique unlocks a world of nutty, toffee-like flavor that elevates the humble peanut butter cookie into a gourmet treat. We’ll cover everything from the ingredients to the science behind the perfect chew.
The Complete Ingredients List
The magic of this recipe is that it uses standard pantry staples, with the technique itself being the star ingredient. For the absolute best results, using high-quality ingredients and a kitchen scale for accuracy is highly recommended.
The Foundation:
- Unsalted Butter: 1 cup (2 sticks or 226g). Using unsalted butter is crucial because it allows you to control the total salt content of the cookies. We will be browning this, so starting with a solid base is key.
- All-Purpose Flour: 2 ½ cups (300g). The backbone of the cookie. Be sure to measure it correctly by spooning it into your measuring cup and leveling it off, or by using a scale for precision.
- Baking Soda: 1 teaspoon. This is our primary leavening agent, which helps the cookies spread and become tender.
- Baking Powder: ½ teaspoon. This provides a little extra lift, contributing to a slightly puffier, softer center.
- Kosher Salt: 1 teaspoon. Salt is a flavor enhancer; it balances the sweetness and brings out the nutty notes of both the peanut butter and the browned butter.
The Flavor Powerhouses:
- Creamy Peanut Butter: 1 cup. For the best, most consistent texture, use a processed, stabilized creamy peanut butter like Jif or Skippy. Natural peanut butters, where the oil separates, can make the dough oily and cause the cookies to spread too much.
- Light Brown Sugar: 1 cup, packed (220g). Brown sugar adds moisture and a slight caramel flavor, which contributes to the cookies’ chewiness.
- Granulated Sugar: ¾ cup (150g). White sugar contributes to the crisp edges and helps the cookies spread. The combination of both sugars creates the perfect texture.
- Large Eggs: 2, at room temperature. Room temperature eggs emulsify better into the batter, creating a smoother, more uniform dough.
- Vanilla Extract: 2 teaspoons. Use pure vanilla extract for the best flavor. It complements both the peanut butter and the browned butter beautifully.
The Finishing Touch (Optional but Highly Recommended):
- Flaky Sea Salt (like Maldon): For sprinkling on top. A final sprinkle of flaky salt before baking provides a delightful crunch and a burst of flavor that cuts through the richness, making the cookies absolutely irresistible.
Step-by-Step Instructions for Cookie Perfection
Follow these detailed steps carefully. The process is straightforward, but the details, especially in browning the butter and chilling the dough, are what make these cookies truly exceptional.
Step 1: The Magic of Browning the Butter
- Melt the Butter: Place the 2 sticks of unsalted butter in a light-colored, medium-sized saucepan or skillet. Using a light-colored pan is essential so you can accurately see the color of the butter and the milk solids as they toast.
- Cook and Swirl: Melt the butter over medium heat. Once melted, it will begin to foam and sputter. Continue to cook, swirling the pan occasionally to ensure even heating. The sputtering is the sound of the water content cooking off.
- Watch and Smell: After a few minutes, the sputtering will subside, and the butter will become clear. You’ll see tiny milk solids begin to fall to the bottom of the pan. This is where you need to pay close attention. Continue swirling the pan. The milk solids will begin to turn a beautiful golden brown, and the butter will develop a deeply nutty, intoxicating aroma, like toasted hazelnuts and toffee.
- Remove from Heat: As soon as the butter is amber-colored and the bits at the bottom are a rich toast color (this can happen quickly, in about 5-8 minutes total), immediately remove the pan from the heat.
- Scrape Every Bit: Pour the browned butter, including all of the toasted brown bits at the bottom of the pan, into a large, heatproof bowl. Those little brown bits are pure flavor, so do not leave them behind!
- Cool Slightly: Allow the browned butter to cool on the counter for about 10-15 minutes before proceeding. It should still be liquid but not scalding hot.
Step 2: Mixing the Cookie Dough
- Combine Dry Ingredients: While the butter cools, in a medium bowl, whisk together the 2 ½ cups of all-purpose flour, 1 teaspoon of baking soda, ½ teaspoon of baking powder, and 1 teaspoon of kosher salt. Set this aside.
- Add Sugars and Peanut Butter: To the bowl with the slightly cooled browned butter, add the 1 cup of packed light brown sugar and ¾ cup of granulated sugar. Whisk vigorously for about a minute until the mixture is smooth and well combined. Add the 1 cup of creamy peanut butter and whisk until fully incorporated.
- Add Eggs and Vanilla: Add the 2 room temperature eggs, one at a time, whisking well after each addition until the mixture is glossy and smooth. Stir in the 2 teaspoons of vanilla extract.
- Incorporate Dry Ingredients: Switch to a rubber spatula and add the dry ingredient mixture to the wet ingredients. Fold everything together until just combined. Be careful not to overmix the dough. A few streaks of flour are okay. Overmixing develops the gluten in the flour, which can lead to tough, dense cookies.
Step 3: The Crucial Chilling Period
- Cover and Chill: Cover the bowl of cookie dough with plastic wrap and transfer it to the refrigerator. This step is non-negotiable. Chill the dough for at least 2 hours, or preferably overnight (up to 3 days). Chilling the dough solidifies the fat (the browned butter and peanut butter), which prevents the cookies from spreading into thin, greasy puddles. It also allows the flavors to meld and deepen, resulting in a much more delicious cookie.
Step 4: Baking to Golden-Brown Perfection
- Preheat and Prepare: When you are ready to bake, preheat your oven to 375°F (190°C). Line two large baking sheets with parchment paper.
- Scoop and Roll: Remove the chilled dough from the refrigerator. The dough will be firm. Using a medium cookie scoop (about 1.5 tablespoons), portion the dough into balls. Roll each ball between your palms to smooth it out.
- Create the Classic Criss-Cross: Place the dough balls on the prepared baking sheets, leaving about 2 inches of space between them. Using the tines of a fork, gently press down on the top of each ball to create a classic criss-cross pattern. Dip the fork in a little granulated sugar if it sticks to the dough.
- The Final Flourish: For that perfect sweet and salty finish, sprinkle the tops of the cookies with a pinch of flaky sea salt.
- Bake: Bake for 10-12 minutes, or until the edges are set and golden brown, and the centers look slightly soft and underdone. The cookies will continue to cook from the residual heat of the pan after you remove them from the oven. For even baking, rotate the baking sheets halfway through the baking time.
- Cool and Enjoy: Let the cookies cool on the baking sheet for 5-10 minutes before transferring them to a wire rack to cool completely. This allows them to set up properly.
Nutrition Facts
- Servings: This recipe makes approximately 3 dozen (36) cookies.
- Calories Per Serving: Approximately 150-170 calories per cookie.
Disclaimer: The nutritional information is an estimate and can vary based on the specific brands of ingredients used and the final size of the cookies.
Preparation and Cooking Time
Proper timing, especially the chilling period, is essential for this recipe.
- Active Preparation Time: 20 minutes (browning butter, mixing dough)
- Chilling Time: Minimum 2 hours (up to 72 hours)
- Baking Time: 10-12 minutes per batch
- Total Time: Approximately 2 hours 30 minutes (with minimum chill time)
How to Serve and Enjoy Your Cookies
These cookies are a delight on their own, but here are a few ways to elevate the experience:
- The Classic Way: Enjoy them slightly warm with a tall, cold glass of milk for the ultimate nostalgic treat.
- With a Hot Beverage: The nutty, caramel notes pair beautifully with a hot cup of coffee, a chai latte, or a simple black tea.
- As an Ice Cream Sandwich: Place a scoop of high-quality vanilla bean, chocolate, or coffee ice cream between two completely cooled cookies for a truly decadent dessert.
- Crumbled as a Topping: Crumble a cookie over a bowl of ice cream, yogurt, or a chocolate pudding for an added layer of flavor and texture.
- With a Touch of Jam: For a nod to the classic PB&J, serve the cookies with a small dollop of raspberry or strawberry jam on the side.
5 Additional Tips for Flawless Cookies
Take your Browned Butter Peanut Butter Cookies from great to unforgettable with these professional tips.
- Master the Brown Butter: Pay attention with all your senses. Use a light-colored pan to see the color change, listen for the sputtering to subside, and trust your nose—the nutty aroma is your best indicator of doneness. Scrape every last brown bit from the pan; that’s where the most concentrated flavor is.
- Don’t Rush the Chill: We cannot stress this enough. Chilling is the secret to a thick, chewy cookie with amazing flavor. The cold, firm dough melts more slowly in the oven, preventing excessive spread and creating that perfect textural contrast between a crisp edge and a soft center.
- Use Room Temperature Eggs: This might seem like a small detail, but it makes a big difference. Cold eggs can cause the cooled browned butter and other fats in the dough to seize and curdle, resulting in a lumpy, uneven batter. Room temperature eggs mix in smoothly, creating a more uniform and stable dough.
- Underbake Slightly for Maximum Chew: The key to a perfectly chewy center is to pull the cookies from the oven when they still look a little soft and puffy in the middle. The edges should be set and golden, but the center should not look fully cooked. They will set up and firm as they cool on the hot baking sheet.
- Weigh Your Flour for Ultimate Consistency: The most common baking error is incorrectly measuring flour. Scooping flour directly from the bag with a measuring cup can compact it, leading you to use up to 25% too much flour, resulting in dry, crumbly cookies. For foolproof, consistent results every single time, a digital kitchen scale is a baker’s best friend.
Frequently Asked Questions (FAQ)
Here are the answers to some common questions about making these incredible cookies.
1. Can I use natural peanut butter?
While you can, it’s not recommended for this specific recipe. Natural peanut butters, where the oil separates, have a different consistency and a higher oil content. This can make the dough greasy and cause the cookies to spread significantly more, even after chilling. For the best texture and structure, a stabilized commercial brand like Jif or Skippy is the ideal choice.
2. Why did my cookies spread too much and become flat?
The most likely culprit is not chilling the dough for long enough, or your browned butter was still too hot when you mixed the dough. The fat needs to be completely solid and cold before it goes into the oven to control the spread. Another possibility is that your baking soda or baking powder is expired and no longer active.
3. Can I make the cookie dough ahead of time?
Absolutely! This dough actually benefits from a longer chill. You can make the dough and store it, well-covered, in the refrigerator for up to 3 days. The flavor will only get deeper and more complex. You can also freeze the portioned cookie dough balls. Place them on a baking sheet to flash-freeze, then transfer them to a freezer bag. They can be baked directly from frozen; just add 2-3 minutes to the baking time.
4. Can I skip browning the butter?
You could make this recipe with softened, regular butter, and you would end up with a very good traditional peanut butter cookie. However, you would be missing the entire point of this recipe. The browned butter is the key ingredient that provides the incredible depth, the toffee-like notes, and the complex nutty flavor that makes these cookies truly special and stand out from all the rest.
5. Do I have to use the flaky sea salt on top?
It is technically optional, but it is highly, highly recommended. The cookies are quite sweet and rich, and that little crunch and pop of salt on top cuts through the richness and balances the sweetness perfectly. It creates a dynamic sweet-and-salty flavor experience that elevates the cookie from a simple dessert to a gourmet treat.

Browned Butter Peanut Butter Cookies recipe
Ingredients
The Foundation:
-
Unsalted Butter: 1 cup (2 sticks or 226g). Using unsalted butter is crucial because it allows you to control the total salt content of the cookies. We will be browning this, so starting with a solid base is key.
-
All-Purpose Flour: 2 ½ cups (300g). The backbone of the cookie. Be sure to measure it correctly by spooning it into your measuring cup and leveling it off, or by using a scale for precision.
-
Baking Soda: 1 teaspoon. This is our primary leavening agent, which helps the cookies spread and become tender.
-
Baking Powder: ½ teaspoon. This provides a little extra lift, contributing to a slightly puffier, softer center.
-
Kosher Salt: 1 teaspoon. Salt is a flavor enhancer; it balances the sweetness and brings out the nutty notes of both the peanut butter and the browned butter.
The Flavor Powerhouses:
-
Creamy Peanut Butter: 1 cup. For the best, most consistent texture, use a processed, stabilized creamy peanut butter like Jif or Skippy. Natural peanut butters, where the oil separates, can make the dough oily and cause the cookies to spread too much.
-
Light Brown Sugar: 1 cup, packed (220g). Brown sugar adds moisture and a slight caramel flavor, which contributes to the cookies’ chewiness.
-
Granulated Sugar: ¾ cup (150g). White sugar contributes to the crisp edges and helps the cookies spread. The combination of both sugars creates the perfect texture.
-
Large Eggs: 2, at room temperature. Room temperature eggs emulsify better into the batter, creating a smoother, more uniform dough.
-
Vanilla Extract: 2 teaspoons. Use pure vanilla extract for the best flavor. It complements both the peanut butter and the browned butter beautifully.
The Finishing Touch (Optional but Highly Recommended):
-
Flaky Sea Salt (like Maldon): For sprinkling on top. A final sprinkle of flaky salt before baking provides a delightful crunch and a burst of flavor that cuts through the richness, making the cookies absolutely irresistible.
Instructions
Step 1: The Magic of Browning the Butter
-
Melt the Butter: Place the 2 sticks of unsalted butter in a light-colored, medium-sized saucepan or skillet. Using a light-colored pan is essential so you can accurately see the color of the butter and the milk solids as they toast.
-
Cook and Swirl: Melt the butter over medium heat. Once melted, it will begin to foam and sputter. Continue to cook, swirling the pan occasionally to ensure even heating. The sputtering is the sound of the water content cooking off.
-
Watch and Smell: After a few minutes, the sputtering will subside, and the butter will become clear. You’ll see tiny milk solids begin to fall to the bottom of the pan. This is where you need to pay close attention. Continue swirling the pan. The milk solids will begin to turn a beautiful golden brown, and the butter will develop a deeply nutty, intoxicating aroma, like toasted hazelnuts and toffee.
-
Remove from Heat: As soon as the butter is amber-colored and the bits at the bottom are a rich toast color (this can happen quickly, in about 5-8 minutes total), immediately remove the pan from the heat.
-
Scrape Every Bit: Pour the browned butter, including all of the toasted brown bits at the bottom of the pan, into a large, heatproof bowl. Those little brown bits are pure flavor, so do not leave them behind!
-
Cool Slightly: Allow the browned butter to cool on the counter for about 10-15 minutes before proceeding. It should still be liquid but not scalding hot.
Step 2: Mixing the Cookie Dough
-
Combine Dry Ingredients: While the butter cools, in a medium bowl, whisk together the 2 ½ cups of all-purpose flour, 1 teaspoon of baking soda, ½ teaspoon of baking powder, and 1 teaspoon of kosher salt. Set this aside.
-
Add Sugars and Peanut Butter: To the bowl with the slightly cooled browned butter, add the 1 cup of packed light brown sugar and ¾ cup of granulated sugar. Whisk vigorously for about a minute until the mixture is smooth and well combined. Add the 1 cup of creamy peanut butter and whisk until fully incorporated.
-
Add Eggs and Vanilla: Add the 2 room temperature eggs, one at a time, whisking well after each addition until the mixture is glossy and smooth. Stir in the 2 teaspoons of vanilla extract.
-
Incorporate Dry Ingredients: Switch to a rubber spatula and add the dry ingredient mixture to the wet ingredients. Fold everything together until just combined. Be careful not to overmix the dough. A few streaks of flour are okay. Overmixing develops the gluten in the flour, which can lead to tough, dense cookies.
Step 3: The Crucial Chilling Period
-
Cover and Chill: Cover the bowl of cookie dough with plastic wrap and transfer it to the refrigerator. This step is non-negotiable. Chill the dough for at least 2 hours, or preferably overnight (up to 3 days). Chilling the dough solidifies the fat (the browned butter and peanut butter), which prevents the cookies from spreading into thin, greasy puddles. It also allows the flavors to meld and deepen, resulting in a much more delicious cookie.
Step 4: Baking to Golden-Brown Perfection
-
Preheat and Prepare: When you are ready to bake, preheat your oven to 375°F (190°C). Line two large baking sheets with parchment paper.
-
Scoop and Roll: Remove the chilled dough from the refrigerator. The dough will be firm. Using a medium cookie scoop (about 1.5 tablespoons), portion the dough into balls. Roll each ball between your palms to smooth it out.
-
Create the Classic Criss-Cross: Place the dough balls on the prepared baking sheets, leaving about 2 inches of space between them. Using the tines of a fork, gently press down on the top of each ball to create a classic criss-cross pattern. Dip the fork in a little granulated sugar if it sticks to the dough.
-
The Final Flourish: For that perfect sweet and salty finish, sprinkle the tops of the cookies with a pinch of flaky sea salt.
-
Bake: Bake for 10-12 minutes, or until the edges are set and golden brown, and the centers look slightly soft and underdone. The cookies will continue to cook from the residual heat of the pan after you remove them from the oven. For even baking, rotate the baking sheets halfway through the baking time.
-
Cool and Enjoy: Let the cookies cool on the baking sheet for 5-10 minutes before transferring them to a wire rack to cool completely. This allows them to set up properly.
Nutrition
- Serving Size: one normal portion
- Calories: 150-170